בית
תעשייה ירוקה
סמיקונדקטור
רכיבים אלקטרוניים
ארכיונים
מדריך מלא לבחירת קבלן מורשה לפירוק אסבסט בישראל: כל מה שצריך לדעת
קרא עוד »
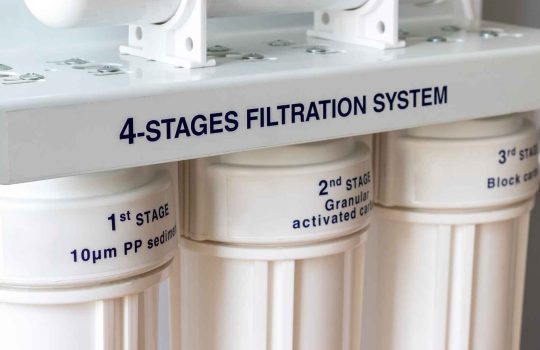
Reverse Osmosis vs. Ultrafiltration: Which Is Right for Your Business?
קרא עוד »
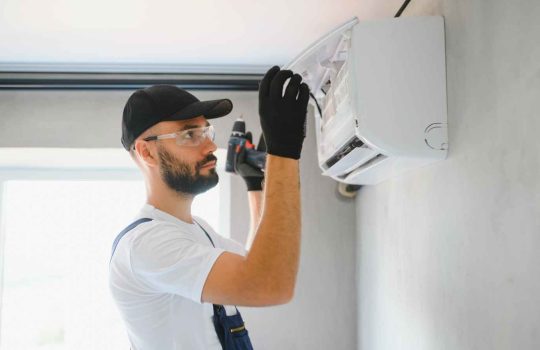
כיצד יועץ הנדסי מסייע בשדרוג מערכות מיזוג ישנות בהתאם לדרישות מודרניות?
קרא עוד »
איך מועצות ורשויות יכולות לעמוד באתגרים הסביבתיים המורכבים של 2025?
קרא עוד »
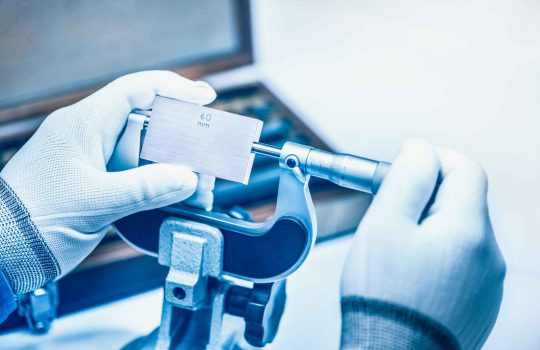
כיול ולידציה למכשור מעבדה – המדריך השלם לשמירה על תקינות הציוד
קרא עוד »
איך תאי שירותים מעוצבים משפיעים על הצלחת העסק שלכם?
קרא עוד »
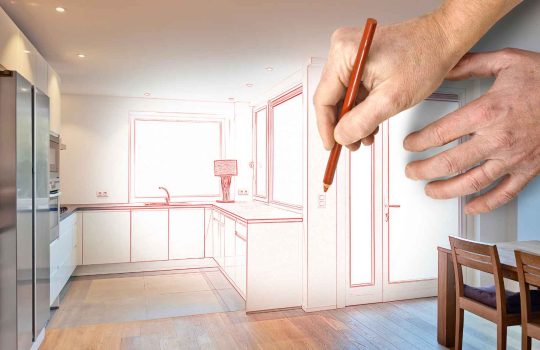
שיפוץ חדר קטן: טרנדים וחידושים
קרא עוד »
מדוע ולידציה למכשור רפואי וחדרים נקיים היא קריטית להבטחת איכות ובטיחות?
קרא עוד »
כיצד לבחור את ספריי המתכת המתאים: מפרויקטים תעשייתיים גדולים ועד לתיקונים קטנים?
קרא עוד »
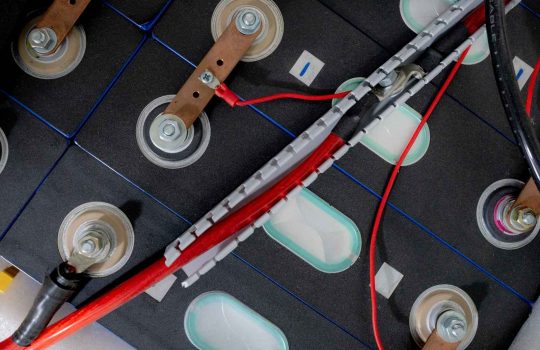
מה מייחד את סוללות הליתיום של אוטו סטרט?
קרא עוד »
כיצד תהליך הבדיקה המבנית של גלאור משפר את שלמות הבניין?
קרא עוד »
מדוע בקרת איכות חיונית בייצור?
קרא עוד »
כלים חד פעמיים ירוקים: מה הופך אותם לבחירה טובה יותר לבית ולסביבה?
קרא עוד »
האם אתה נעול בחוץ? גלה אילו שירותי מנעולן כוללים
קרא עוד »
מהם היתרונות החבויים בשימוש בכלים ובמוצרים חד פעמיים למסעדות?
קרא עוד »